
People usually hit connectivity questions at the worst time: the app is running, your logs look fine, and your browser says “can’t connect.”
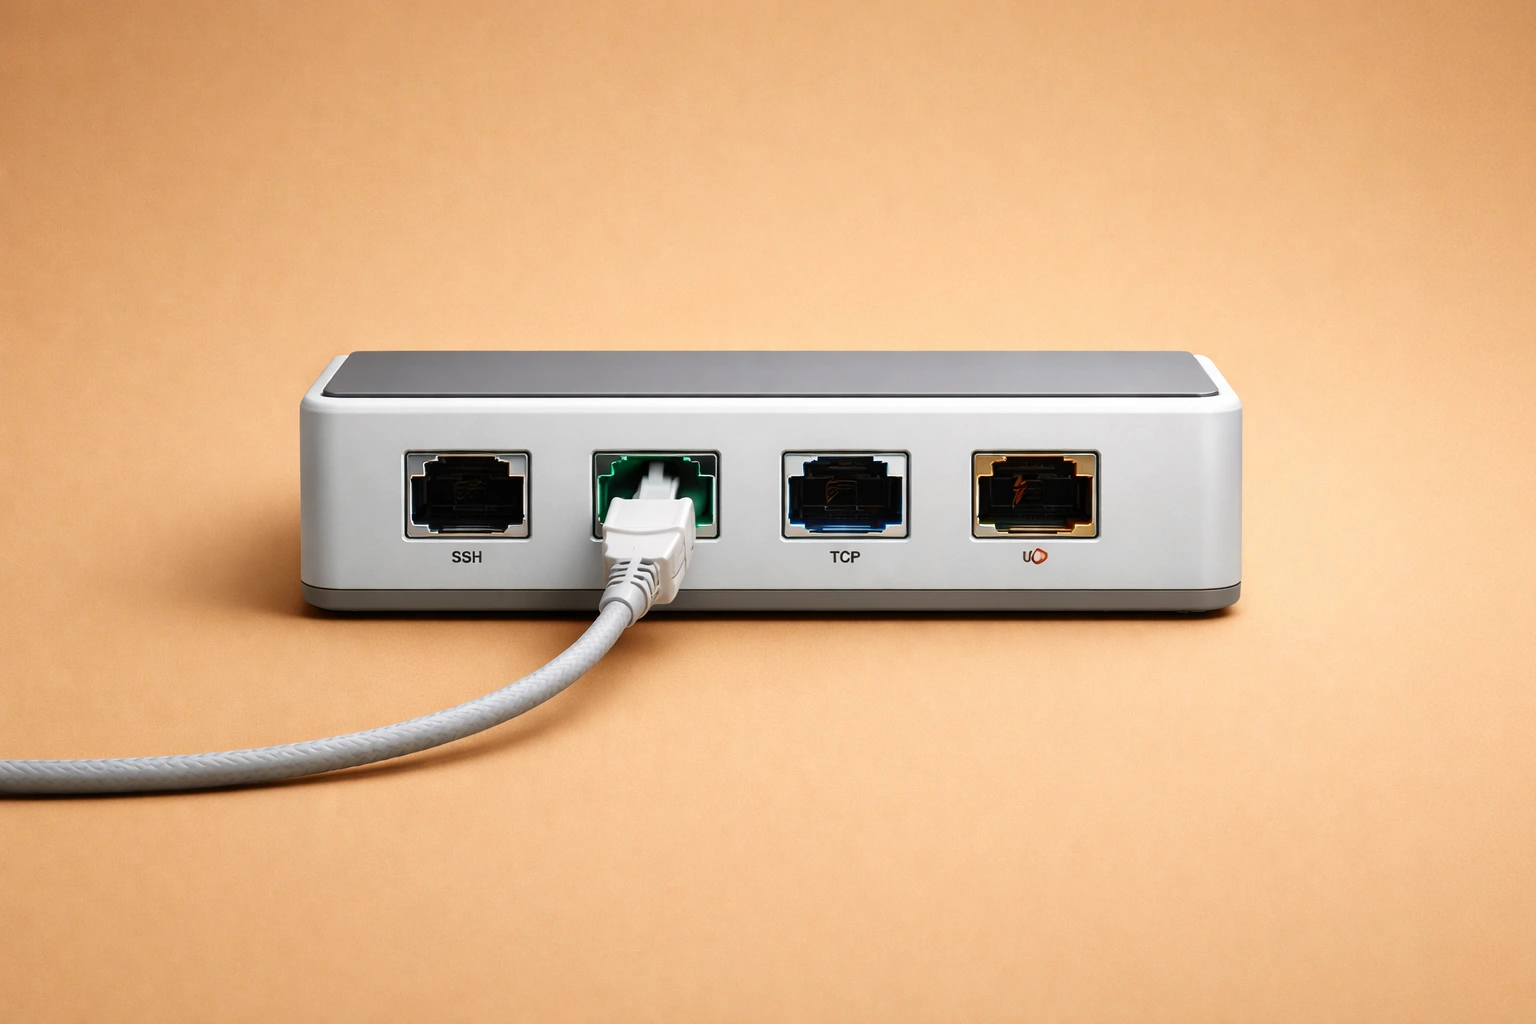
On Compute with Hivenet, you choose how the outside world can reach your VM during creation.. The options are simple, but they map to different real-world needs: SSH for access and tunneling, HTTPS for browser-friendly links, and TCP/UDP for direct inbound connections. The benefit of planning your connectivity settings up front is improved security and easier troubleshooting later.
If you’re still choosing a runtime, start here. If you want the product update that introduced VMs, use: Compute now supports virtual machines (VMs). When opening ports on VMs, the community is a valuable resource for troubleshooting and sharing solutions, and thinking through questions to ask before choosing a distributed compute provider helps you avoid surprises later..
The shortest answer
Use SSH for terminal access. If you’re testing a UI, use SSH port forwarding first because it’s private and hard to mess up.
Use HTTPS when you want a web link you can open in a browser. It’s the cleanest route for dashboards and UIs.
Use TCP when you need inbound connections to a TCP service like an API. For example, to open a port in a container, you can use the EXPOSE directive in your Dockerfile or run your container with port mapping using the -p option in the docker run command.
Use UDP when your app specifically needs UDP.
One thing to decide early: connectivity settings are chosen during creation, and some options can’t be changed later. If you think you’ll need an inbound port, plan it up front.
Why “it runs but I can’t reach it” happens
Most failures come down to one of these:
- Your app is listening on localhost only (127.0.0.1). That makes it reachable only from inside the VM.
- Your app is listening on a different port than the one you’re trying to reach.
- You didn’t enable the right protocol under Connectivity when you created the VM.
Before you chase anything else, confirm the app is reachable from inside the VM. If it isn’t, no networking option will fix it.
It’s important to define your network settings and save your configuration files when setting up port exposure to avoid these issues.
SSH: the reliable default
SSH is for remote terminal access. It’s also the safest way to reach a web UI while you’re setting it up, because you can tunnel the port to your own machine without opening anything publicly.
HTTPS: the simple option for web apps
If your app is meant to be reached in a browser, HTTPS is usually the right choice. It gives you a public URL so you don’t have to keep an SSH tunnel open.
If you get Bad Gateway, it’s nearly always a mismatch between the port you’re using and how your app is bound.
TCP: direct access for APIs and services
TCP is for inbound access to services that aren’t “open a link in a browser.” If you’re running an API server or a custom service that expects clients to connect directly, TCP is the right tool. Enable it, run your service on the VM, and use the endpoint details shown in the console. TCP ports can be opened to the internet for external access, and using a fixed public IP ensures consistent connectivity.
UDP: only when you need it
UDP is less common for typical AI/ML workloads. If your service uses UDP, enable it and follow the same logic as TCP: run the service, bind it correctly, then connect using the endpoint shown in the console.
Kubernetes services can be used to expose VMs or applications within a cluster or to the outside world. A Kubernetes service exposes network access for clients to an application running on a set of pods, offering abstraction, load balancing, and exposure to the outside world. ClusterIP is the default service type, providing internal access within the cluster, while NodePort makes a port accessible from outside the cluster if the node is externally reachable. Load balancers can provide external access with a fixed IP, and DNS names are used for service discovery both internally and externally. A single service can map to multiple virtual machines. Microsoft Azure and other cloud providers support these networking features, and Hivenet’s distributed GPU cloud for AI and HPC offers similar flexibility for exposing services, and you should save your manifest files when configuring services..
A practical recommendation
Start closed, then open what you can justify. Supported network configurations and following community best practices provide additional benefit and reliability.
When you’re testing, prefer SSH port forwarding. It keeps your service private while you make it stable.
When you’re ready to share or run production traffic, use HTTPS for web apps and open TCP/UDP only for services that truly need it. Add authentication in your app before you expose anything, especially if you’re exposing AI endpoints such as a served Llama 3.1-8B model on Compute..
For the exact how-to steps, treat the docs as the source of truth: Expose a service from a Compute VM: SSH, HTTPS, TCP, and UDP
Setting up a Virtual Machine
You need to create a VM instance and set up SSH access to connect remotely to your virtual machine on Compute with Hivenet, which is especially useful when you’re running GPU-powered AI and ML workloads. Start by launching your VM, then install an OpenSSH server if it's missing. You'll need this to access your VM from the command line, especially when managing scalable, sustainable GenAI workloads with Compute.
Check your VM's IP address with this command:
ip addr
You'll see the network interfaces and their IP addresses. Put your VM on the same subnet as your host for direct SSH access. Choose a "bridge" network setup instead of the default "NAT" option—this lets your host connect directly to the VM.
Set up a VPN connection between your host and VM if you want to access it from different locations or networks. This gives you better security and more ways to connect remotely.
Configure your firewall to allow traffic on the SSH port (port 22 by default). Your SSH connection won't work without this step, even if you've set up everything else correctly.
Connect with your SSH client once your VM runs, OpenSSH is installed, and your firewall allows connections. Test your SSH access to make sure it works. Your VM is now ready for remote management and additional setup.
SSH
SSH (Secure Shell) gives you secure command-line access to your virtual machine. Start by installing the OpenSSH server on your VM. Once it's installed, generate a public and private key pair. These keys authenticate your SSH client and encrypt the data you exchange with the server.
Add the public key to your VM. Keep the private key on your local machine. When you connect, the SSH client uses your private key to establish a secure session with the server. Tools like PuTTY (for Windows) or the built-in command (for Linux and macOS) make it easy to connect and manage your VM from anywhere.
Configure your VM's network settings and firewall to allow incoming traffic on port 22. This is the default port for SSH, and you need to open it for remote connections. Once everything's set, use your SSH client to connect to the VM's IP address and access the command line interface. This secure connection is essential for managing, configuring, and troubleshooting your VM in the cloud.
HTTPS
HTTPS encrypts your web traffic and proves your server's identity to visitors. It's HTTP combined with TLS (Transport Layer Security) - a security layer that scrambles data as it moves between browsers and your server, keeping out bad actors and anyone trying to snoop on your users.
You'll need an SSL/TLS certificate to get HTTPS working on your VM. For testing, create a self-signed certificate with OpenSSL. For live sites, get one from a trusted certificate authority. After you have your certificate, set up your web server (Nginx or Apache work well) to use it.
HTTPS protects your users and your reputation. If you're handling passwords, personal info, or any sensitive data, it's required. Cloud environments make this even more critical since data travels through more network hops. Your users will see that reassuring lock icon, and search engines will rank your site higher too.
TCP
TCP (Transmission Control Protocol) forms the backbone of reliable, connection-oriented communication between clients and servers. When you send data between your VM and the outside world, TCP ensures it arrives in order without loss or duplication. It handles error-checking and correction automatically.
You'll use TCP for everything in cloud computing and virtual networks—from API servers to database connections. Set up your VM to listen on the port you want, then configure firewall rules to allow incoming connections on that port range. Clients can then connect to your server's public IP address and port. This creates a stable channel for data exchange.
TCP gives you congestion control, flow control, and error correction. These features make it the right choice for applications that need reliable data transfer. You can run web services, databases, or custom applications with confidence—TCP gets your data where it needs to go.
Conclusion
Opening ports on your virtual machine is a crucial step in enabling secure and efficient remote access and service exposure. Whether you need SSH for secure command-line access, HTTPS for encrypted web traffic, or TCP/UDP for application-specific connections, configuring your VM's network settings carefully is essential. Always start with a secure, closed setup and open only the necessary ports, applying best practices such as using VPN connections and firewall rules to control traffic. Leveraging Compute with Hivenet’s flexible connectivity options ensures your services are accessible while maintaining strong security and performance. Remember to verify your configurations thoroughly to avoid common pitfalls and keep your virtual environment protected.
Frequently Asked Questions (FAQ)
What is the best way to open ports on a VM securely?
A1: The best practice is to start with all ports closed and open only those necessary for your application. Use SSH for secure remote access, enable HTTPS for web traffic, and open TCP/UDP ports only when required. Additionally, configure firewall rules and VPN connections to control traffic and protect your VM from unauthorized access.
How do I configure SSH access on my virtual machine?
A2: Install an OpenSSH server on your VM, generate SSH key pairs, and add the public key to your VM. Ensure port 22 is open in your firewall and your VM’s network is configured to allow incoming connections. Then connect using an SSH client like PuTTY or the built-in terminal command.
Can I expose multiple services on a single VM using different ports?
A3: Yes, you can run multiple services on a VM by configuring each to listen on different ports. Make sure to open the corresponding ports in your firewall and network settings to allow external access.
What is the difference between TCP and UDP ports when opening them on a VM?
A4: TCP provides reliable, connection-oriented communication suitable for most applications like web servers and APIs. UDP is connectionless and used for applications needing fast, low-latency transmission, such as streaming or gaming. Open the port type that matches your application’s protocol requirements.
How can I verify that my ports are open and accessible on my VM?
A5: Use network tools like telnet, nc (netcat), or online port scanners to test connectivity to your VM’s IP address and port. Additionally, check your VM’s firewall and network configurations to ensure the ports are not blocked.
What is security verification and why is it important when opening ports on a VM?
A6: Security verification involves validating that only legitimate users and traffic can access your VM services, protecting against malicious bots and unauthorized access. Implementing security services, firewalls, and VPNs helps control traffic and ensures verification successful before allowing connections.
Can I open ports on a VM hosted in Azure App Service?
A7: Azure App Service primarily manages web apps and does not support opening arbitrary ports like a traditional VM. For full port control, use Azure Virtual Machines or container instances with explicit port exposure configured via Docker or Azure networking settings.
How does Compute with Hivenet help manage open ports and security?
A8: Compute with Hivenet allows you to define connectivity options during VM creation, including SSH, HTTPS, TCP, and UDP, with built-in firewall and VPN support. It helps you control traffic, apply security best practices, and verify your setup to protect your resources effectively.
What should I do if I encounter “can’t connect” errors despite opening ports?
A9: Verify your app is listening on the correct IP address and port, ensure the firewall and network settings allow incoming traffic, and confirm the protocol matches your service. Also, check that your VM is reachable from your client network and that no security service is blocking access.
Are there any community resources or tools to help with troubleshooting open ports on VMs?
A10: Yes, the Hivenet community and documentation provide valuable guides, troubleshooting tips, and examples. Tools like SSH clients, network scanners, and logging can help diagnose connectivity issues and optimize your VM’s network configuration.
